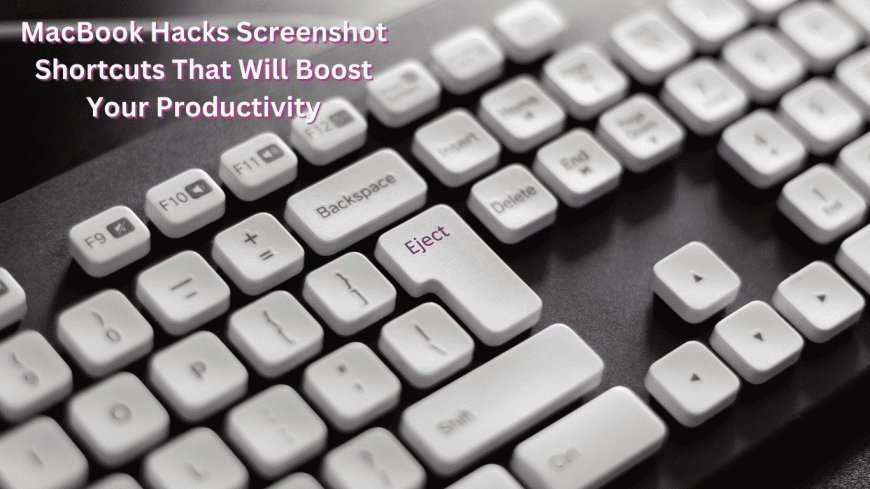
MacBook Hacks: Screenshot Shortcuts That Will Boost Your Productivity
Discover the ultimate MacBook screenshot shortcuts to level up your productivity! Learn easy tips, tricks, and tools for capturing your screen like a pro.

MacBook Hacks: Screenshot Shortcuts That Will Boost Your Productivity
Rapid digital change demands efficiency. The capacity to instantly record and exchange information is vital for students taking lecture notes, designers collaborating, and tech-savvy entrepreneurs. The MacBook screenshot function is flexible and time-saving. Teaching yourself MacBook screenshot shortcuts will boost your productivity and help you work smarter.
This article covers all MacBook screenshot shortcuts, from beginners to advanced suggestions, so you can tackle any work.
Why Screenshots Matter for Productivity
Screenshots are essential in digital processes. They matter because:
-
For rapid reference, screenshots may store information faster than notes.
-
Easy Collaboration: Instantly share work, mistakes, and ideas with colleagues or tech assistance.
-
Use screenshots for lessons, reports, and presentations.
-
Troubleshooting: Visual data simplifies problem-solving.
Key to using screenshots efficiently is understanding MacBook shortcuts and utilities.
Mastering MacBook Screenshot Shortcuts
The MacBook has built-in screenshot shortcuts for numerous uses. These shortcuts are simple to remember and utilize, strengthening your productivity arsenal.
1. Capture the Entire Screen
Shortcut:
Command + Shift + 3
This is the easiest and quickest method to record your screen. It's ideal for a thorough overview of your project.
-
When to Use:
-
Workspace setup documentation.
-
Recapturing full-screen presentations.
-
Taking numerous window snapshots.
-
Pro Tip:
The screenshot automatically saves to your desktop. Consider adjusting the save location (more on this later) to arrange your desktop.
2. Capture a Specific Area
Shortcut:
Command + Shift + 4
You may capture a specified screen region using this shortcut's crosshair tool.
-
How to Use:
-
Click and drag to capture the area after pressing the shortcut.
-
Let go of the mouse or trackpad to screenshot.
-
When to Use:
-
Highlighting a document or website part.
-
Capturing just important pictures or graphic areas.
-
Create clear, succinct presentations or instructional screenshots.
3. Capture a Specific Window
Shortcut:
Command + Shift + 4, then press the Spacebar
A version of the previous shortcut. Pressing the spacebar turns the crosshair into a camera icon, letting you record any open window.
-
How to Use:
-
Use the shortcut.
-
Press Spacebar.
-
To screenshot, hover and click the window.
-
When to Use:
-
Polishing screenshots with uniform proportions.
-
Error messages or app UI capture.
-
Individual app or browser tab focus.
-
Pro Tip:
Professional-looking drop shadows are automatically added to recorded windows using this shortcut.
4. Capture the Touch Bar (For MacBook Pro Users)
Shortcut:
Command + Shift + 6
This shortcut is only for Touch Bar MacBook Pros. It captures Touch Bar content as a picture.
-
When to Use:
-
Demonstrating Touch Bar functionality.
-
Sharing custom Touch Bar setups with others.
-
Documenting app-specific Touch Bar menus.
Advanced Screenshot Features
After learning the fundamentals, discover advanced features to boost productivity.
A. Annotate Screenshots with Markup
A thumbnail preview appears in the bottom-right area after capturing a screenshot. This sample launches the Markup tool, which enables you:
-
Fill with text, shapes, or arrows.
-
Emphasize key points.
-
Distort crucial info.
-
Image cropping.
This function helps create thorough, annotated screenshots for lessons, reports, and feedback.
B. Change the Default Save Location
Screenshots are stored to the desktop by default, which may become messy. Change save location:
-
Press Command + Shift + 5 to access the screenshot toolbar.
-
Select "Options" from the toolbar.
-
Change the destination to a folder, document, or external disk.
-
Pro Tip: Organize screenshots by establishing folders for certain tasks or objectives.
C. Set a Timer for Screenshots
Set a timeout before taking screenshots using the screenshot toolbar (Command + Shift + 5). This helps with screen and cursor preparation.
-
Launch the toolbar.
-
Select a 5- or 10-second timer under "Options.".
-
Take your typical screenshot.
-
When to Use:
-
Grab dropdowns or tooltips.
-
Clean-shot software or window preparation.
D. Copy Screenshots Directly to the Clipboard
Shortcut:
Command + Shift + 4, then press and hold the Control key
Add the Control key to your screenshot shortcuts to copy the picture to the clipboard instead of the desktop. It may be pasted into Pages, Keynote, or emails.
-
When to Use:
-
Share screenshots instantly without saving.
-
Not having superfluous desktop files.
Managing and Organizing Screenshots
Effective screenshot management is just as crucial as taking them. Some tips:
1. Rename Screenshots Automatically
MacOS usually labels screenshots "Screenshot [date] at [time]". Using Hazel or Automator to automatically rename and categorize screenshots by rules improves organization.
2. Compress Screenshots for Sharing
High-resolution screenshots might be big. Optimize file size using built-in tools like Preview:
-
Check the snapshot in Preview.
-
Open File > Export.
-
Lower resolution or compress the file.
3. Store Screenshots in the Cloud
Using iCloud, Google Drive, or Dropbox to save screenshots saves MacBook space. This guarantees file accessibility across devices.
Pro Tips for Taking Better Screenshots
-
Hide annoying icons or use desktop-cleaning tools before capturing the complete screen to seem professional.
-
Zoom to catch details: Use System Preferences > Accessibility > Zoom.
-
For keyboard shortcuts, make a little reference card and keep it ready.
Common Issues and Troubleshooting
A. Screenshots Not Working
If your shortcuts aren’t working:
-
Activate shortcuts: Select Keyboard > Shortcuts > Screenshots in System Preferences.
-
Restarting your MacBook fixes temporary issues.
B. Screenshots Are Blurry
Scaling problems cause blurry screenshots. Set System Preferences > Displays to "Default for display" for screen resolution.
What's Your Reaction?


